Osc Control
Open Sound Control (OSC) Interface
Section titled “Open Sound Control (OSC) Interface”This program allows the use of Open Sound Control packets over UDP to control EuroPi.
OSC Addresses
Section titled “OSC Addresses”The following addresses are used by the program (noting that the /europi namespace
can be changed; see below):
/europi/cv1/europi/cv2/europi/cv3/europi/cv4/europi/cv5/europi/cv6
All of the above will accept float or integer data. Floats are treated as the 0-1 level for CV control. Integers are treated as boolean on/off signals (0 for off, anything else for on).
/europi/cvs
The above accepts 6 parameters of either float or integer, and will set all 6 outputs with a single packet.
In addition to the input addresses above, EuroPi will broadcast the following addresses at 20Hz:
/europi/ain: float, the 0-1 input level/europi/k1: float, the knob position as a value in the range 0-1/europi/k2: float, the knob position as a value in the range 0-1/europi/din: integer, a 0/1 value indicating if the input is off or on/europi/b1: integer, a 0/1 value indicating if the button is pressed or not/europi/b2: integer, a 0/1 value indicating if the button is pressed or not
Multiple EuroPi on the same network
Section titled “Multiple EuroPi on the same network”If you have more than one EuroPi you may find it desirable to assign each their own namespace. Otherwise by moving one fader on your OSC input device you may control all EuroPis at once.
Create /config/OscControl.json to set the namespace:
{ "NAMESPACE": "/europi_1"}If the namespace does not start with /, a / will automatically be added. If the namespace
is left empty, it will default to /.
Changing the topics
Section titled “Changing the topics”The input & output topics described above are defaults. To rename the topics (e.g. to facilitate
easier interaction with other devices) the topics can be customized by specifying the topics for
each output: /config/OscControl.json:
{    "CV1_TOPIC": "cv1",    "CV2_TOPIC": "cv2",    "CV3_TOPIC": "cv3",    "CV4_TOPIC": "cv4",    "CV5_TOPIC": "cv5",    "CV6_TOPIC": "cv6",    "CVS_TOPIC": "cvs",
    "AIN_TOPIC": "ain",    "DIN_TOPIC": "din",    "K1_TOPIC": "k1",    "K2_TOPIC": "k2",    "B1_TOPIC": "b1",    "B2_TOPIC": "b2",}
If the topics begin with a /character, they are treated as absolute topic names. If they do not
start with / they will be included in the NAMESPACE defined above.
Changing the port
Section titled “Changing the port”TouchOSC uses UDP port 9000 by default, so that’s what EuroPi looks for. To override
the default with a different port, set the port in /config/OscControl.json, e.g.:
{ "RECV_PORT": 6024}Sending data
Section titled “Sending data”To configure the port & IP address that button, knob, ain, and din states are send,
set the SEND_PORT and SEND_ADDR keys in /config/OscControl.json, e.g.:
{ "SEND_ADDR": "192.168.4.100", "SEND_PORT": 9001,}Configuring TouchOSC
Section titled “Configuring TouchOSC”TouchOSC is a commercial program available for a variety of platforms that allows you to create custom OSC input interfaces.
Network setup
Section titled “Network setup”Press the link button to configure TouchOSC’s connection to your EuroPi.
Select UDP as the connection type and enter the IP address of your EuroPi and
enter the following:
Host: EuroPi’s IP addressSend Port: theRECV_PORTvalue configured on EuroPi; this is the port TouchOSC sends data, and the port that EuroPi correspondingly listens onReceive Port: theSEND_PORTvalue that you configured on EuroPi; this is the port TouchOSC listens for data on, and correspondingly the port EuroPi sends data onZeroconf: leave asDefaultunless you have a specific requirement to change this
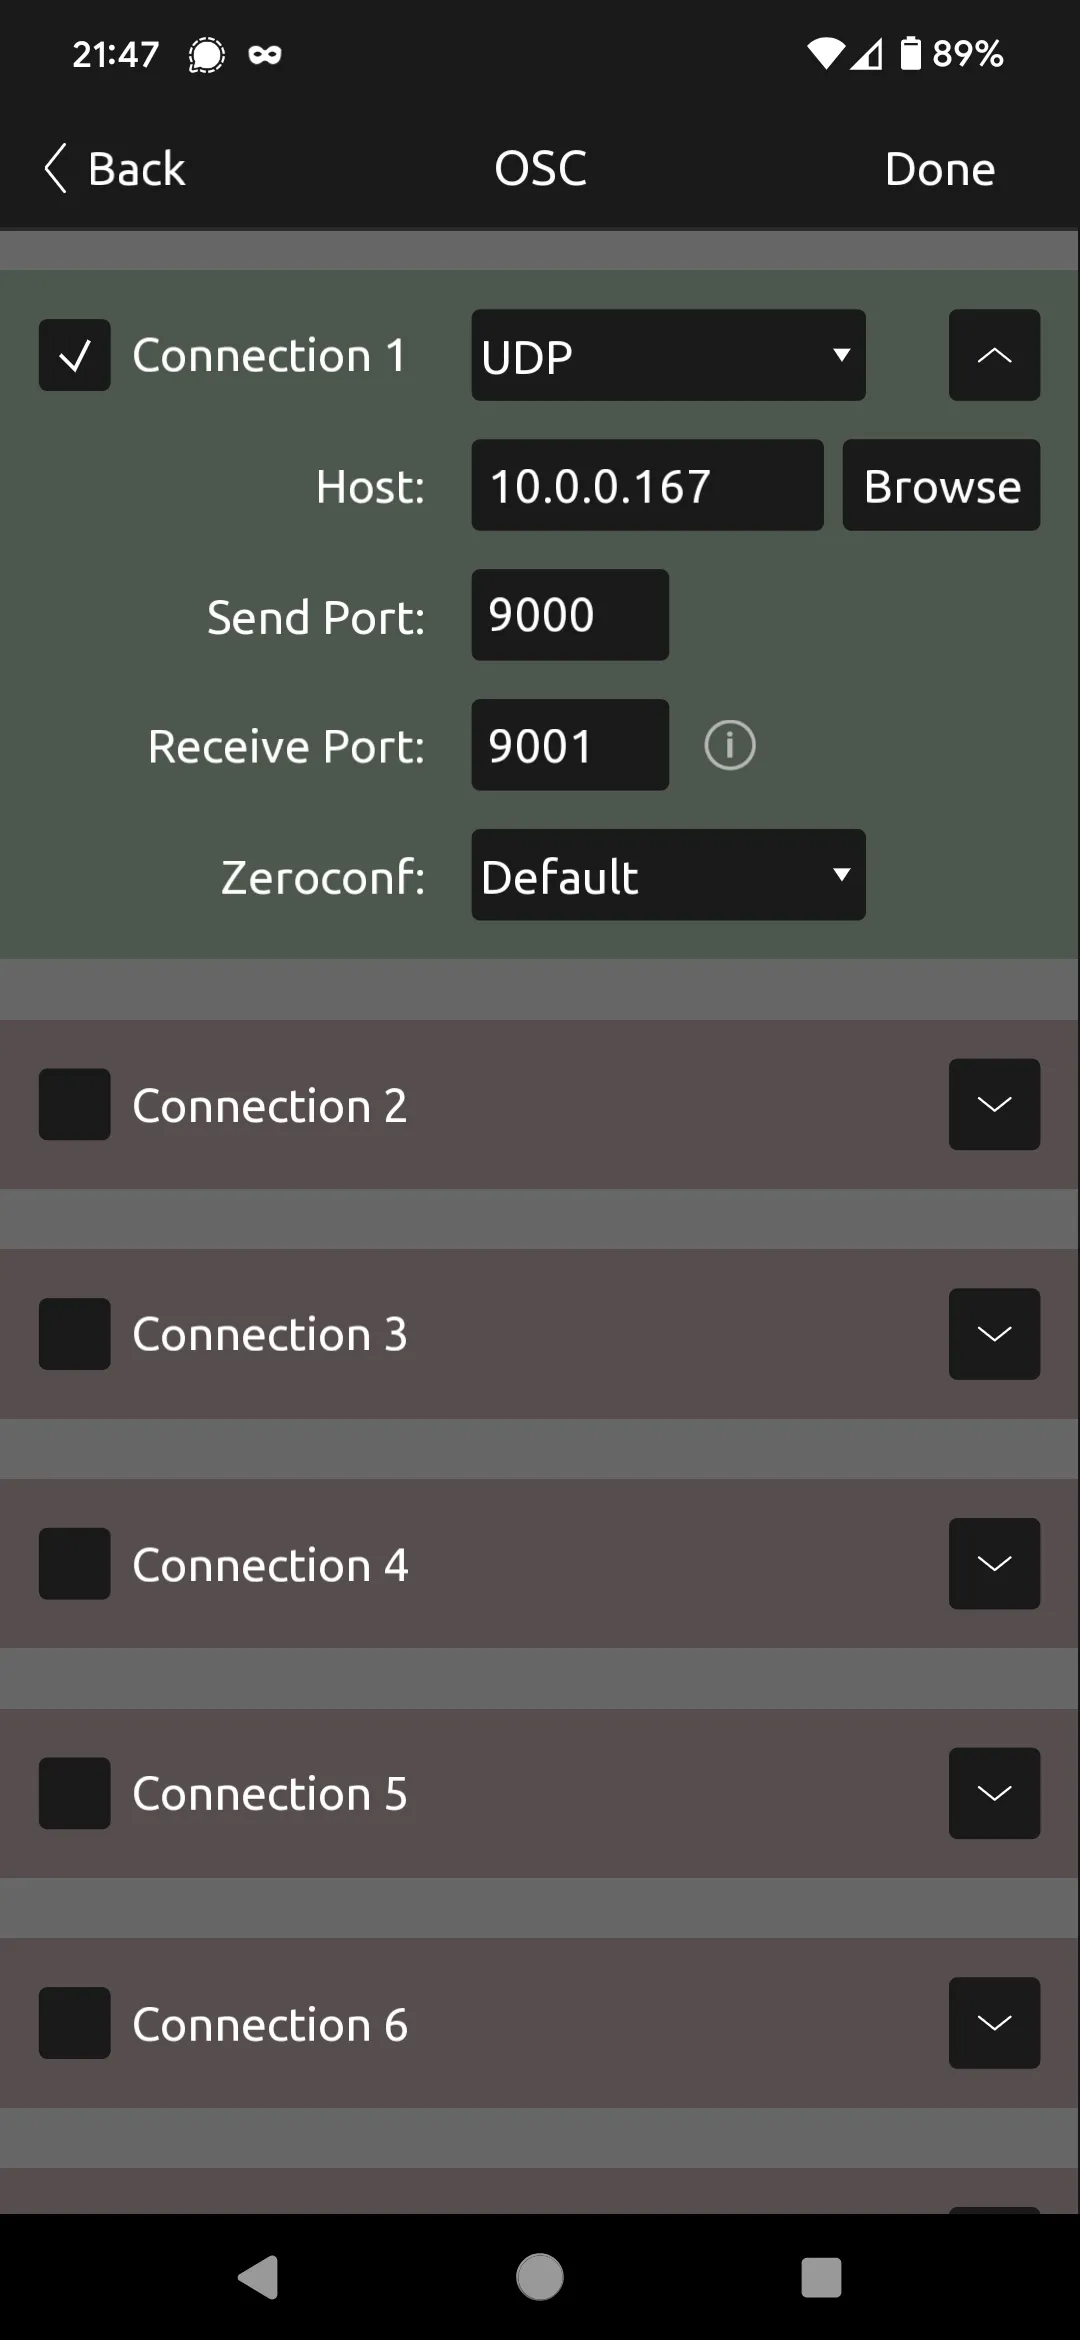
Configuring TouchOSC’s networking
UI setup
Section titled “UI setup”The simplest way to control EuroPi via TouchOSC is to add six sliders to your panel.
Then edit each slider to set its name to europi/cvN where N is the number 1 to
6.
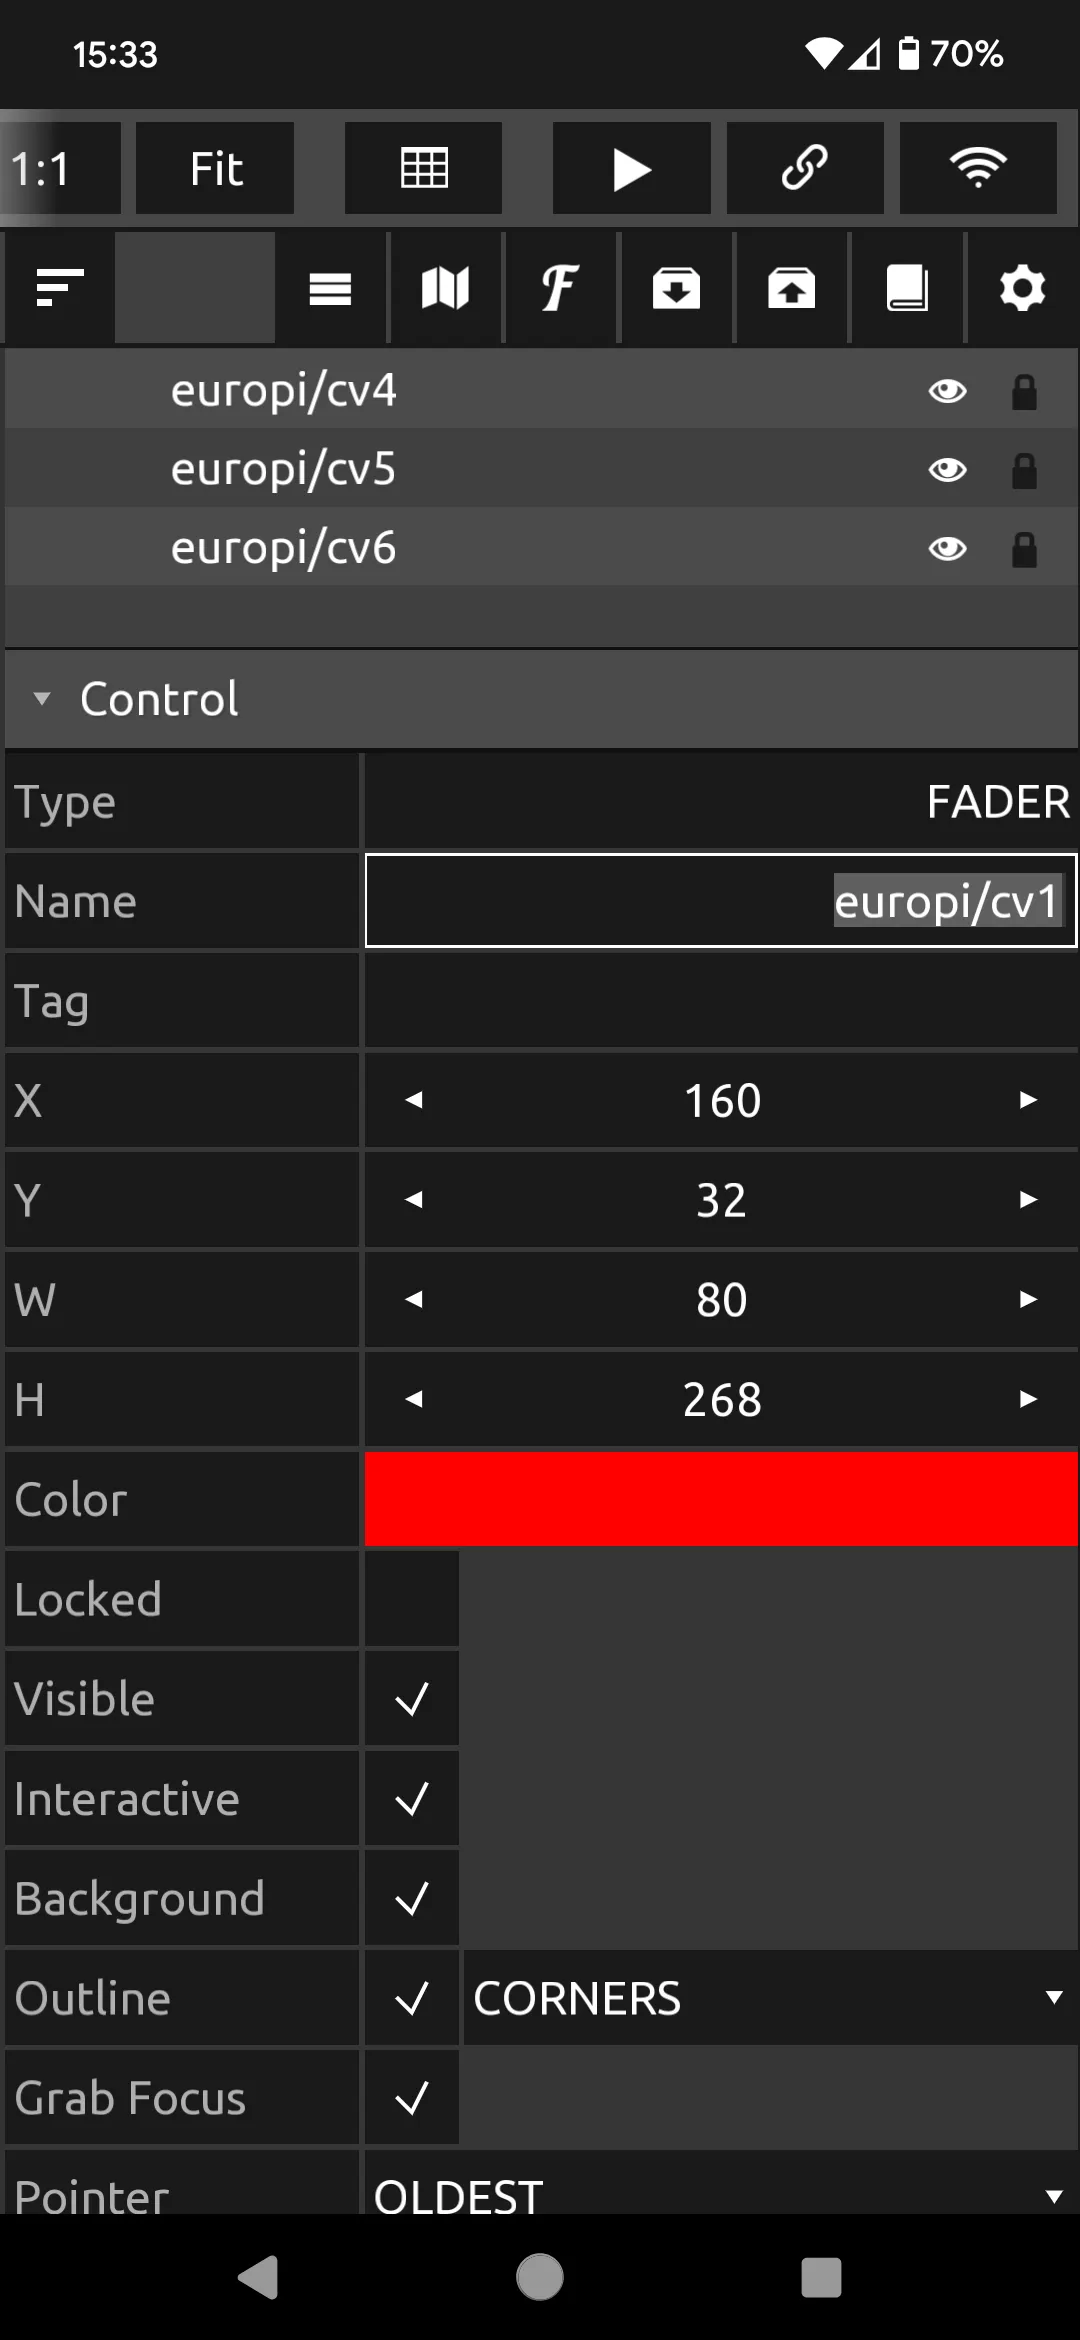
Configuring a slider’s name in TouchOSC on Android
Then configure TouchOSC’s OSC connection to connect to your EuroPi’s IP address. Your
phone/table must either be connected to EuroPi’s access point, or both must be connected
to the same wifi network.
Once configured, start TouchOSC’s interface by pressing the triangular “Play” button.
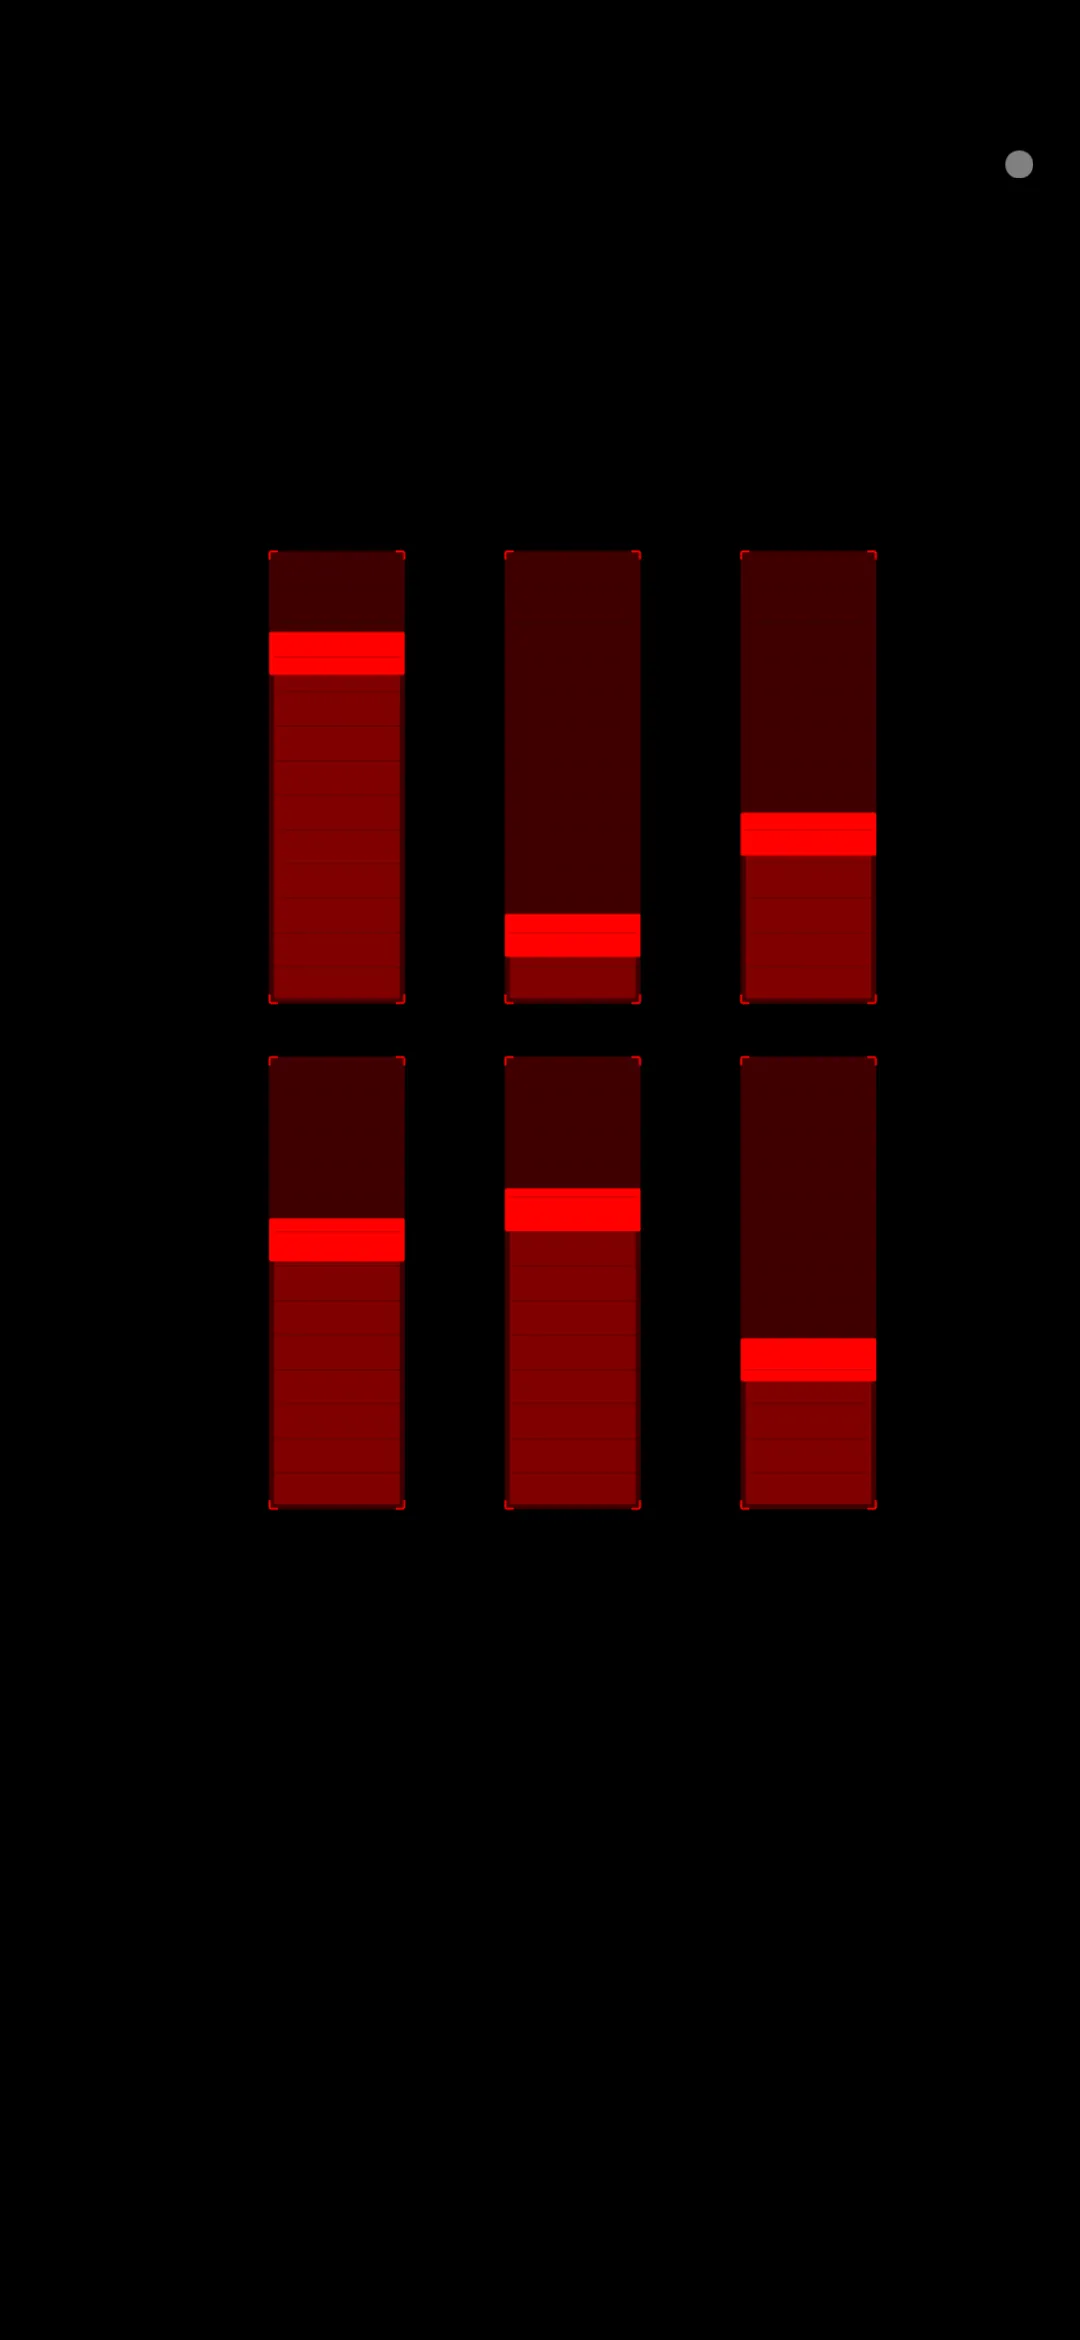
TouchOSC’s sliders
EuroPi’s OLED will show bars indicating the levels of TouchOSC’s sliders
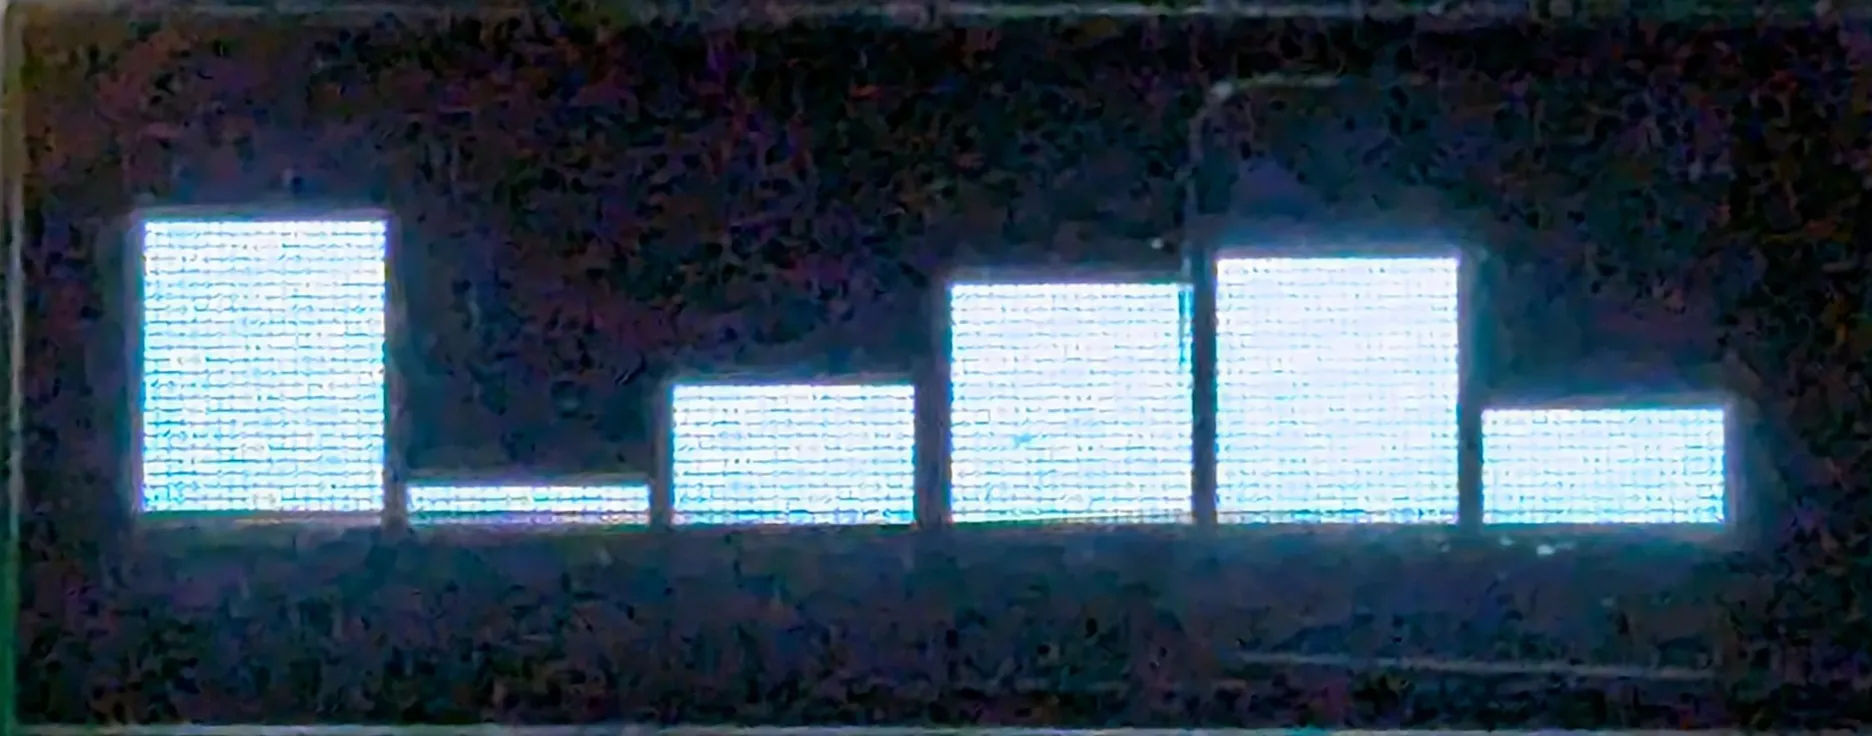
EuroPi’s OLED showing the same slider levels as TouchOSC
Using 8mu
Section titled “Using 8mu”If you have a Music Thing Modular 8mu you can use it to control EuroPi via OSC.
Refer to the OSC 8mu interface for details on how to set up your computer to read 8mu’s sliders and convert them to OSC messages for EuroPi.